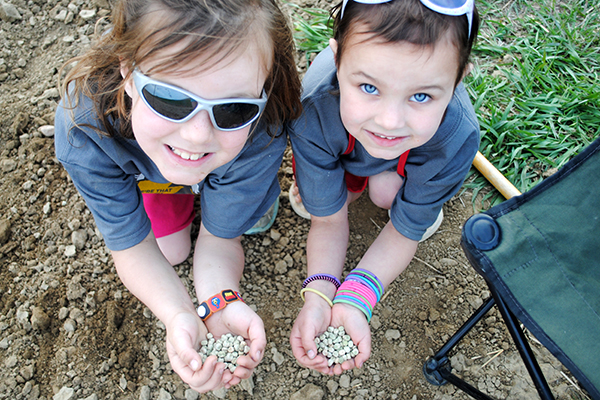
Between soccer games, track practice, birthday parties, and life we finally started planting the garden. The girls were as excited as I was to be digging and planting. We had limited time before the sun set, so I handed the camera to twelve year old and started sowing.
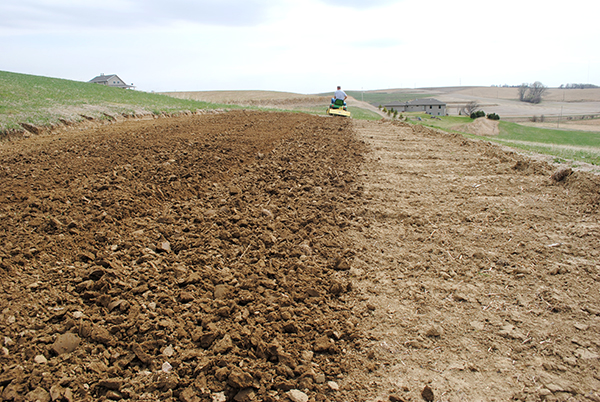
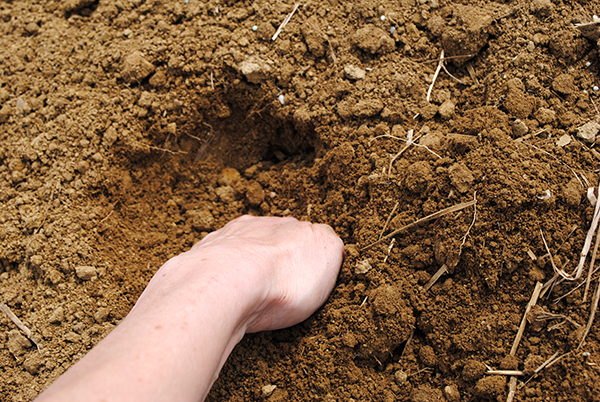
Prior to planting, our friend Cody tilled the garden for us (as I mentioned in previous posts, this is an important step). It’s easy to see the difference in the tilled and untilled soil. Once tilled, I could easily sink my hand into the soil. It is soft, loose, and perfect for germinating seeds. You can also see where I sprinkled fertilizer on the garden and how the tillage incorporated it throughout the garden.

There are five easy steps to assure germinating success.
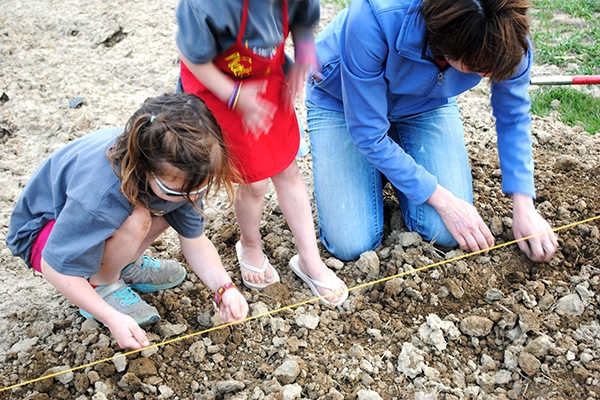
- Follow the seed packet directions for seed spacing, row spacing, and seed depth. During planting, I had my seven-year-old read the instructions and I had my five year old measure. Great application to what they are learning in school.
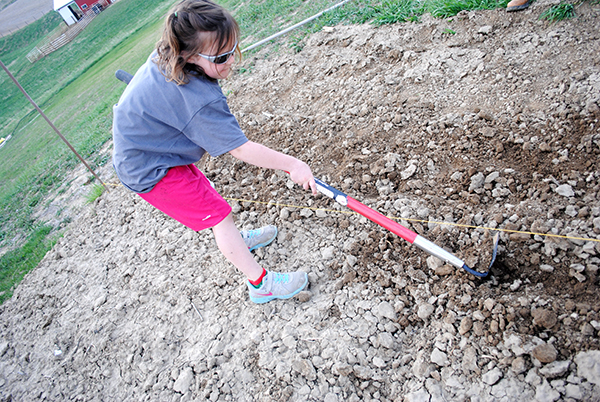
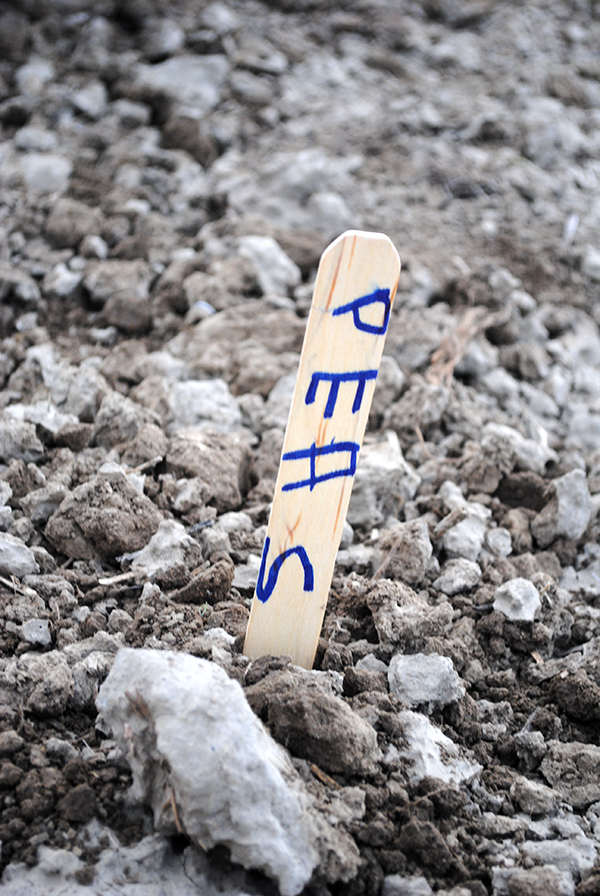
- Dig a shallow trench using a hoe, stick, or rake at the depth and spacing based upon the seed packet directions. A garden looks nice when vegetables are planted in straight rows and it makes it easier to cultivate, side dress, and harvest. I use two stakes and a string to get a straight line (though I still end up crooked sometimes).
- Sprinkle seeds in the bottom of the trench evenly. Some seeds are planted very shallow, like lettuce at ¼ inch deep, and others deeply, for example potatoes at 4 inches deep. A general rule to follow is to place the seed at a depth about four times the diameter of the seed. Planting depth is very important. If they are too deep the germinated seed may not have the energy to push all of the way out of the soil. You can tear off a small corner of the packet and tap the seeds out as you move along. I prefer to pour a small quantity of seed into my hand or my junior gardeners hands. We scatter pinches of seed as evenly as possible. Larger seeds, such as potatoes or green beans, can be placed individually by hand. Not all of the seeds will sprout, so sow seeds a little more thickly than you want the final spacing of the crops to be. In a later post, we will talk about how to thin the seedlings.
- Cover the seeds with soil. It is important for there to be good seed to soil contact. Gently compress the soil with your hands or hoe, around the seed making sure it’s completely surrounded by soil, not air.
- Water! Keep the soil moist (not dripping wet) for seeds to germinate and grow. This requires watering at least two times a day until plants emerge from the soil. It requires time, but you’ll be so proud when you see the little green seedlings pop up!

As the sun set, we gathered our tools and empty seed packets. We talked about nature and what was about to happen underneath our fertile soil. We went back inside feeling satisfied and smelling like dirt. It was a great way to end a busy day.
I’m happy to be gardening with you.
If you’re just joining us, catch up on my previous posts about planning and preparing your garden.