Oh, my sore muscles! I took advantage of the sunshine and removed some plant stubble that was in the garden since last fall. It felt good getting dirty and putting in a few hours of hard work. These sore muscles remind me that gardening is great exercise and part of a healthy lifestyle! How many overweight gardeners do you know?
Despite these sore muscles, I am ready to get digging. My goal is to plant cold hardy crops in about two weeks. Now is the time to start preparing the seed bed. Let’s walk through this step-by-step.
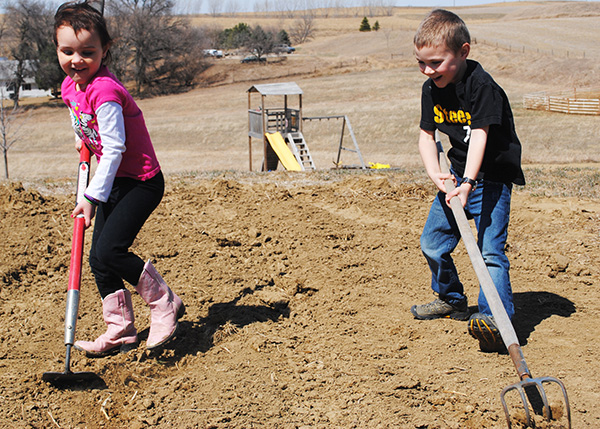
1. Remove old plant material. Removing plant stubble will help reduce the amount of disease and insects in the garden. This can be done in the spring or the fall.
2. Test the soil. Spring is also a great time to have your soil tested. A soil test will give the inside scoop on your soil fertility. It will tell what is missing in the soil and will be your guide for fertilizing. Remember soil is the key ingredient to our success. This is something we have to get right to get a healthy vegetable crop.
– The most accurate soil tests will come from your local County Extension Service (often listed under state or county government in the phonebook). The Extension Service will have sample bags, forms, a soil probe and instructions on collecting samples. Soil test results usually rate the levels of soil pH, phosphorus, potassium, magnesium, calcium, and sometimes nitrogen. (link the video)
– Nitrogen – Plants with adequate nitrogen show healthy vigorous growth, strong root development, dark green foliage, increased seed and fruit formation and higher yields.
– Phosphorus – Plants need phosphorus to stimulate root development and flowering, and to help in the prevention of disease and stress.
– Potassium – Potassium stops plant wilting, strengthens roots and stems, and assists in transferring food.
– The soil test will tell you the pH of the soil. The pH of the soil is an important number to know because it affects the plant’s ability to absorb essential nutrients. Plant nutrients are most available at pH levels of 6.5to 6.8. The pH number is based on a scale from 1-14. If the soil pH is below 7.0, it has a more acidic condition, a number greater than 7.0 has a more intense alkaline condition. Soil pH can be adjusted over a couple of growing seasons and then maintained year after year. If the soil is acidic, one needs to add lime. If the soil is more alkaline based, amend with iron sulfate, powdered sulfur or an aluminum sulfate.
3. The next step is to amend the soil based on the type of soil in the garden and the results of the soil test. To amend the soil means we add nutrients and organic matter to improve the overall health of the soil. Every garden season, the plants and vegetables we grow pull nutrients out of the soil. Those nutrients have to be replenished each year. Just like we refuel our cars when the tank is empty, we have to refuel the soil with nutrients to keep it growing.
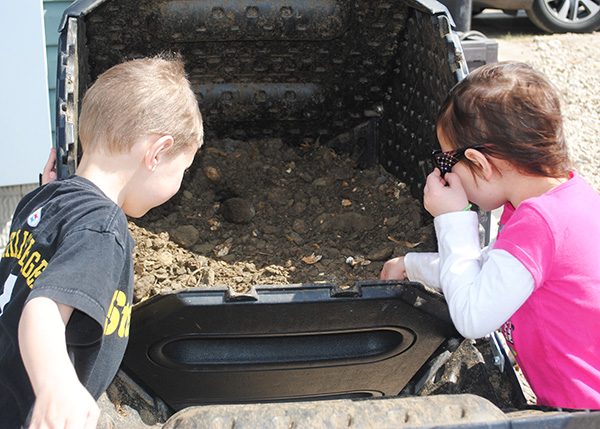
I have a large compost pile that I have tended to the past year. It is ready, this spring, for me to add it to the garden. Wheel barrel by wheel barrel, I will spread the compost on the garden (more exercise). Organic matter is essential as it almost always improves the overall health of the garden soil. It combines together the sand, silt and clay into participles that allows air, water and the plant roots to move through the soil.
According to K-State Extension, the following rates of organic matter are recommended for the home garden.
– Stable manure. Use 50-100 pounds per 100 square feet. You may want to add a quarter to half a pound of superphosphate as well.
– Poultry and sheep manure. Use 10-20 pounds per 100 square feet. You may want to add a quarter to half a pound of superphosphate as well.
– Rotted sawdust. Use sawdust in your compost pile, then apply it to the garden. Use 3-4 bushels per 100 square feet.
– Compost. Compost is decayed plant material. Apply 50-100 pounds per 100 square feet of garden space.
– Cattle manure. Use 10-20 pounds per 100 square feet. Adding one forth to one half a pound of superphosphate. Do not use raw manure on the garden, as it has the potential to lead to food poisoning. It’s best to used aged manure.
– Peat Moss. Follow the label instructions on the bag.
I also amend the soil with fertilizer according to the rate recommended from the results of the soil test. Incorporating fertilizer allows me to adjust the levels of nitrogen, potassium and phosphorus. These macro-nutrients will yield healthy nutritious vegetables.
If you did not test the soil, I would incorporate one pound of a 10-10-10 or one pound of a slow release fertilizer per 100 square foot.
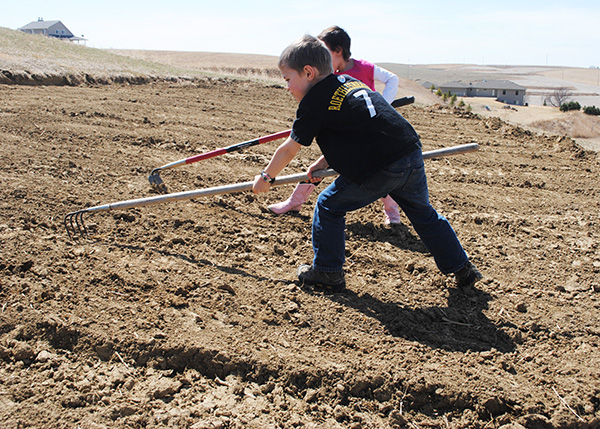
4. Cultivate! Incorporate the organic matter, fertilizer and other amendments by roto-tilling (use of a motorized cultivator that works the soil by rotating blades) or hoeing (great exercise!) into the top twelve inches of soil. I like to delegate this one! If you are gardening in a new spot that was previously lawn, additional steps must be taken to remove the sod and prepare the garden bed.
Tilling the soil breaks up the crust and clods and creates a fine, loose soil for planting in. Be sure the garden soil is not too wet to till. You can damage the soil structure by tilling the garden when it’s too wet. To tell if it is too wet, take a handful of soil. If you can form the soil into a ball, it’s too wet. It’s best to wait a day or two for it to dry out.
Preparing the soil for spring planting requires a little chemistry and hard work, but it will be worth it when you start harvesting! Who knew “dirt” could be so complex and needy?
I am happy to be gardening and exercising with you!